Let me take you back a couple weeks. A Firefighter I work with was hosting some friends over for a 4th of July party at his house. Our families live in the same neighborhood. He told me not to worry about bringing any food because he was making Frogmore Stew for everyone. Frogmore Stew sounded a bit familiar, I think I had it at work several years ago but I didn’t remember it being all that spectacular. My wife and I are also cautious when someone else is cooking and they aren’t used to the precautions needed for Celiacs. I did a quick Internet search and found that nothing in Frogmore Stew has gluten. So what is Frogmore Stew you ask? The name comes from Frogmore, South Carolina. It is essentially a mix of small potatoes, corn on the cob, spicy sausage, and shell fish like shrimp and crab all boiled together in a large pot of water seasoned with Old Bay Seasoning. Back to the party, everyone was sitting around on the back patio enjoying the sunshine and having a cold drink when my friend came out and covered his patio table with packing paper and dumped a big pile of food on top of it for everyone to pick at. Everything was perfect and delicious. My wife and I looked at each other and knew that we had to make this for everyone at our upcoming family vacation. So I went from having Frogmore Stew once several years ago to having it three times in the past three weeks. This is the easiest, most delicious meal to serve to your family and friends this Summer. Plus the presentation will have everyone's attention.
Frogmore Stew
serves 8-10 people- adjust the amount as necessary
Old Bay Seasoning- about 1/3 to 1/2 cup per gallon of water- It’s great if you can use 1 large pot but you need about 2- 2 1/2 gallons of water for this recipe. I don’t have a pot that big so I used a couple smaller pots. Just season the water in each pot and it will be fine.
Onion- 1/2 an onion sliced
Lemons- Juice from 3 lemons
Potatoes- small whole red and Yukon gold-about 2 pounds
Corn on the cob- about 5 ears shucked and cut into thirds
Sausage- Andouille or any kind you like- about 12 links cut them in half
Shellfish- Mix and match however you like- 2 1/2 pounds of medium shrimp cleaned but with the shell on, 2 pounds of Snow crab legs, I even used 1 pound of steamer clams the second time I made this.


 For the Thai peanut sauce; heat oil in a small sauce pan over medium-low heat, add the garlic and ginger. Cook for about 30 seconds. Add the rest of the sauce ingredients, stir until smooth.
 Simmer the sauce until it begins to thicken. Remove the sauce from the heat and cool to room temperature. This sauce will last in the refrigerator for up to a week if you want to make it in advance.
 For the topping, cut the chicken into bite size pieces, I used 3 boneless skinless chicken breasts. Put the chicken pieces in a bowl, add 2 tsp of
  Preheat the oven to 375 degrees F. Lightly brush the edges of the
  In a stand mixer, whisk together the flour, salt, xanthan gum, minced garlic, and garlic powder. Add 1 lightly beaten egg and the milk.
 In a bowl or Pyrex measuring cup, add the warm water, sugar, and yeast. Proof the yeast for about 3-4 minutes. The mixture should foam up slightly.
 Add the yeast mixture to the dry ingredients and mix with a dough hook until thoroughly combined.
 Lay parchment paper over a baking sheet or cutting board and lightly dust with gf flour. Use your hands to divide the dough evenly into four pieces. Lightly flour your hands and press the dough into four flat rounds a bit larger than your hands. Cover the pressed dough with a clean towel and place in a warm area to rise for about 20-30 minutes. The dough will not rise dramatically.
 Next, preheat a heavy skillet, I used cast iron, add 1/2-1 Tbs of butter to the skillet. Fry your naan bread on each side for 3-4 minutes per side. Add a little more butter to the skillet and repeat with the next piece of bread. Finally, take all the cooked naan and wrap it in foil. Place the bread in a warm oven (250-275 degrees F) for about 4-5 minutes. The steam inside the foil will add a nice chewiness to the naan. Now the combination of the naan, lamb, and tzatziki will have your family carting you around the house on their shoulders singing your praises. I'm not joking, it's that good. Enjoy!!!
 I used a 1 pound lamb steak and 1 pound of chicken breasts for my kebabs. Cut the meat into roughly 2 inch cubes.
 Place the meat in a medium bowl and cover with marinade. Reserve some of the marinade for the vegetables. Allow the meat to marinade for at least 2-3 hours covered in the refrigerator. Cube up some of your favorite vegetables; I used green and red bell peppers, onion, and zucchini.
 Preheat your grill. I like to make kebabs with all vegetables or all meat on the skewer for easier cooking since the meat takes a little longer to cook than the vegetables. I cooked the meat kebabs for about 6-7 minutes, flipped them over once and cooked them for another 6-7 minutes. Before you put the vegetables on the grill, give them a quick brushing with the reserved marinade. Cook the vegetables for about 4 minutes per side.
  Combine all the ingredients in a medium bowl.
 Serve your kebabs with the tzatziki sauce on the side to dip the meat in. The combination of the cool fresh tzatziki and the rich marinated lamb is out of this world. Enjoy!!!
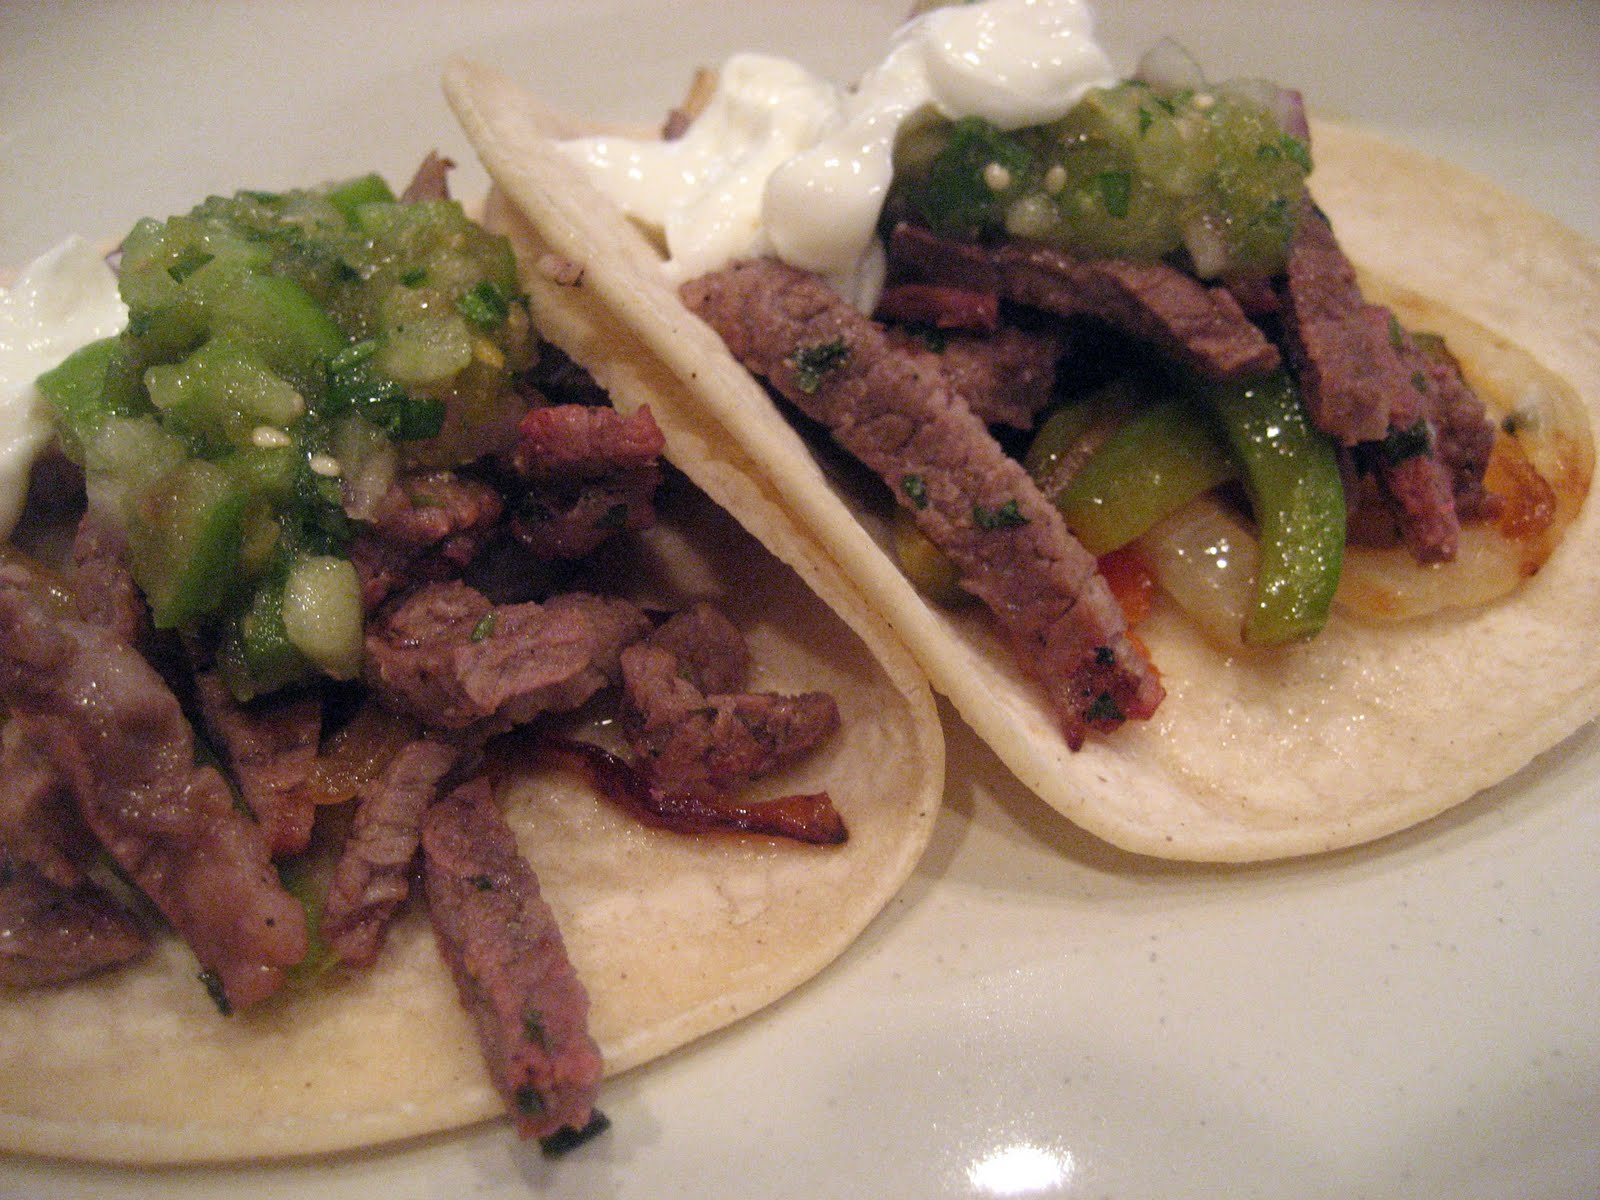
 Start by lightly toasting cumin seeds until fragrant. Grind the cooled seeds into a powder. You could also use powered cumin if you don't have whole seeds.
 Next, in a large bowl, combine the rest of the marinade ingredients.
 Add the carne asada meat to the bowl and thoroughly coat each piece with marinade. Cover and refrigerate for at least 1 hour and up to 4-5 hours.


 In a medium sauce pan, melt butter and add the gf flour. Stir to combine. Whisk in the milk until it become smooth and coats the back of a spoon. Do not allow the milk to boil. Add all of the cheese and stir until smooth and creamy.
 Add the chopped bacon, pepper, and nutmeg.
 Mix the pasta and cheese sauce together. Pour into a 9x13 baking dish or several smaller baking dishes. Cover with bread crumb mixture. Bake at 400 degrees F for 10-15 minutes or until the bread topping is golden brown. Enjoy!!!
 Preheat the oven to 400 degrees F. Bring pineapple juice, brown sugar, and mustard to a boil in a small sauce pan. Stir together and boil until the glaze is thickened slightly, about 1 minute. Line a baking sheet with foil. Place the chicken on the baking sheet and brush both side of chicken with the glaze. Bake for 15 minutes. Apply another coat of glaze and broil to finish cooking, about 5 minutes longer. Keep an eye on the chicken so it doesn't burn under the broiler.
 Spoon the salsa over the chicken. Serve with rice and a vegetable and you are all set to eat a delicious and easy weeknight meal. Enjoy!!!
 For the ribs, sprinkle the ribs with salt and pepper. In a dutch oven over medium-high heat, melt the butter. Working in two batches, brown the ribs on all sides then transfer to a plate.
  Next, saute the celery, onion, and carrot until they begin to soften, about 5 minutes. Add the wine, broth, Sherry, garlic, bay leaves, and thyme. Bring to a boil, scraping up all the browned bits. Season with a little more salt and pepper. Return the ribs to the pot, propping them up on their side in a single layer. Cover, reduce heat to medium-low, and simmer for 1 hour.
 After 1 hour, turn the ribs over. Cover and continue cooking for 1-1/2 hours. After the ribs are done cooking, remove them from the pot. Trip off excess fat and remove them from the bone. Cut the meat into 3/4-1 inch pieces.
 While the ribs are cooking, prepare the caramelized pickled onions. Melt butter in a large skillet over medium-high heat. Add onions, sprinkle with salt, and saute until they begin to brown, about 10 minutes-stir frequently. Add the vinegar and sugar and cook until most of the vinegar is absorbed, about 1 minute. Transfer to a bowl.


Cowboy Butter Snack Mix
3 days ago


 Posts
Posts


